Install now or wait? The travel eSIM activation timeline
Buying, installing, activating, and connecting are four different moments. Put each one on the right side of your flight and avoid starting the clock—or troubleshooting—in the arrivals hall.
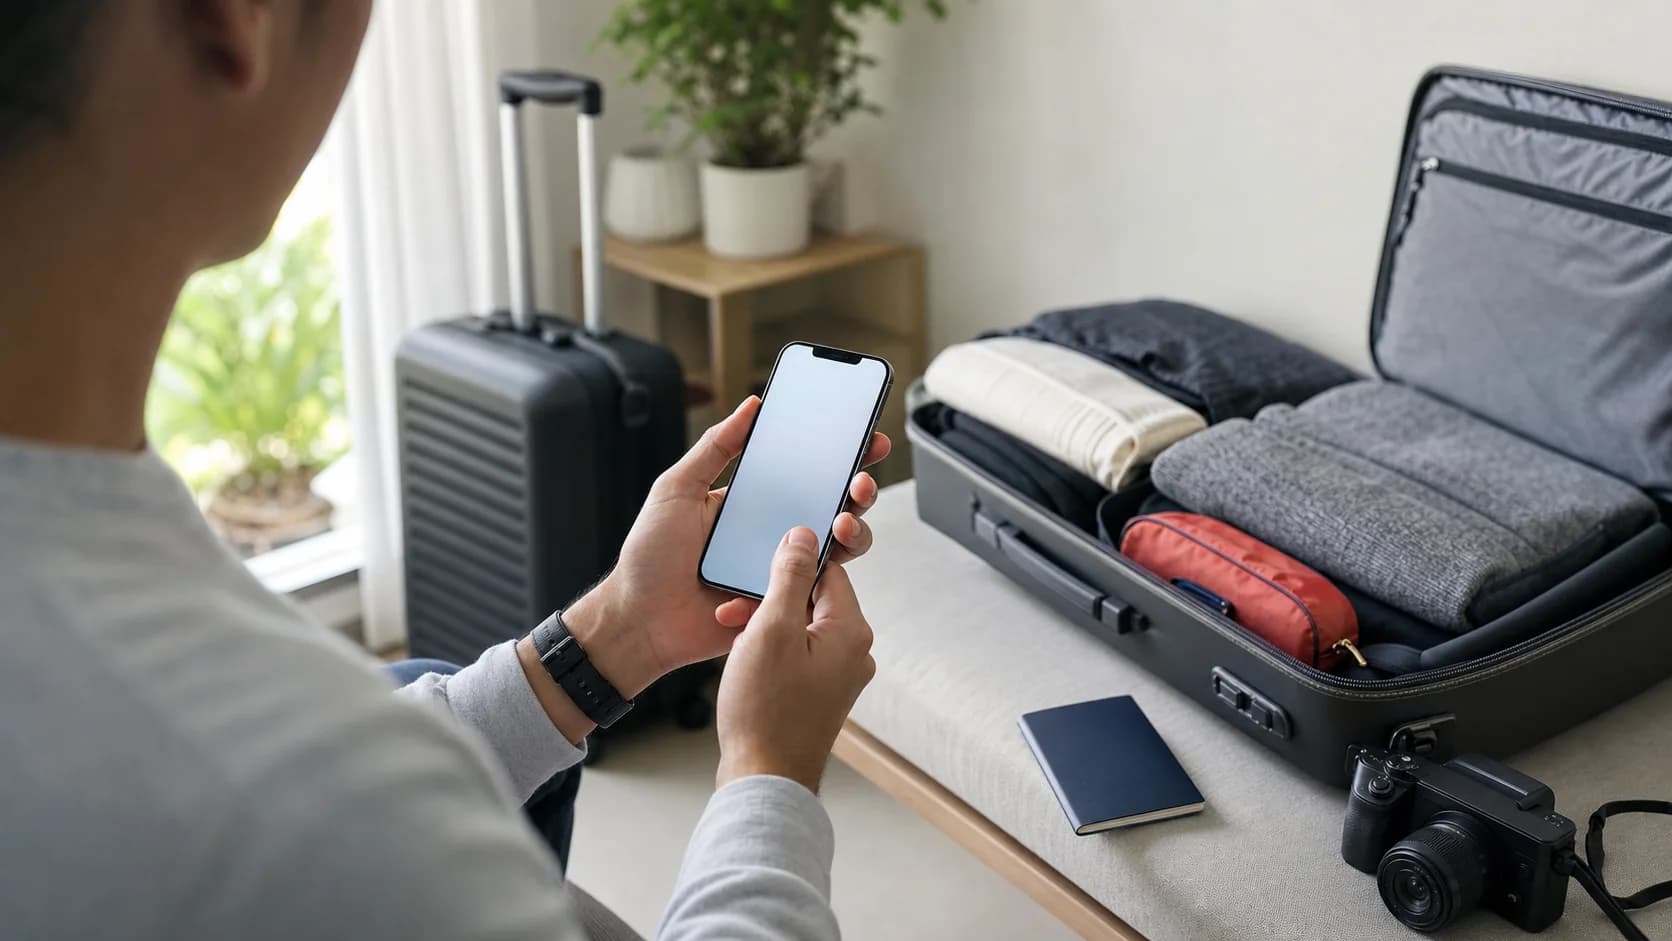
A travel eSIM can be paid for in a minute and still have four separate milestones: purchase, installation, enabling the line, and first connection. Put each milestone on the right side of your flight and setup becomes calm. Treat them as one event and you can start the plan too early—or leave all the troubleshooting for the arrivals hall.
Read the plan’s start rule before you scan anything
If validity begins only when the eSIM first connects to a supported network, installing it over reliable Wi-Fi before departure is often the lowest-stress option. Label the profile, leave your home line as the data line, and switch when the trip begins.
If validity begins when the profile is installed, wait until shortly before you need service. If the instructions say that an app button or fixed calendar date starts the plan, follow that trigger instead. Providers do not all use the word “activation” in the same way.
Buying, installing, enabling, and connecting are different
Separating the four moments makes provider instructions easier to read. It also tells you which steps can happen at home and which ones belong at the destination.
- 01Purchase
The plan and installation details are issued
You receive a QR code, app flow, activation link, or manual eSIM details. Nothing has necessarily changed on the phone yet.
- 02Install
The eSIM profile is downloaded to the phone
The travel line appears in cellular settings. Depending on the provider, this step may or may not start validity.
- 03Enable
The line is turned on and selected for mobile data
You decide which SIM handles data, calls, and messages. The home line can remain available when the phone supports dual SIM.
- 04Connect
The profile registers on a supported local network
For many travel plans, this first eligible network connection is the practical start of service—but only the plan terms can confirm it.
Translate the validity wording into an action
Look in the product details, confirmation email, and installation guide for the sentence that explains when the validity clock starts. Then use the matching setup approach below.
| The instructions say | A careful approach |
|---|---|
| Validity starts on installation | Keep the code safe and install close to the first day you need data—not weeks before the trip. |
| Validity starts on first supported-network connection | Install over stable Wi-Fi before departure, then select the travel line for data at the destination. |
| Validity starts when you tap Activate | Install only if the provider allows it, but leave the activation control untouched until the planned start time. |
| Service starts on a fixed date | Confirm the date and time zone, then install early enough to solve any profile-download issue before that date. |
Prepare everything the timing rule allows
The goal before departure is not necessarily to make the travel line live. It is to remove avoidable dependencies: weak airport Wi-Fi, an installation email buried in your inbox, a QR code displayed on the same phone, or a support conversation after a long flight.
Use reliable Wi-Fi
Profile download usually needs an internet connection. Install at home or another trusted connection when the plan timing permits.
Save the complete instructions
Keep the QR code, manual activation details, APN guidance, order number, and support contact available offline or on a second screen.
Protect the home line
Label both lines clearly and decide whether the home SIM should remain available for calls or verification texts while its data roaming stays off.
- Confirm that the exact phone supports eSIM and is carrier-unlocked.
- Update the phone before travel, then restart it once while reliable help is nearby.
- Save the provider’s activation trigger, coverage list, and support channel.
- Give the new line an obvious label such as “Trip · Italy” rather than accepting a generic name.
- Leave the home line selected for mobile data until you intentionally switch.
- Download maps, tickets, lodging details, and the destination address for offline access.
A calm iPhone setup separates installation from data choice
Apple supports several provider-controlled setup methods, including a QR code, activation link, carrier app, and manual entry. Menu labels can vary by region and software version, but the general path begins in Settings under Cellular or Mobile Data and then Add eSIM.
- 01On Wi-Fi
Add the eSIM with the issued method
Scan or open the provider’s code or link and follow the phone prompts. Keep the confirmation details until the profile appears in settings.
- 02In settings
Label the travel and home lines
A clear label prevents the most common arrival mistake: selecting the wrong line for mobile data or changing roaming on the wrong profile.
- 03At arrival
Choose the travel line for Cellular Data
Turn on the travel line and follow its roaming instructions. Keep data roaming off on the home line unless your home carrier plan says otherwise.
- 04Before testing
Decide whether data switching should be allowed
Automatic switching can keep the phone online, but it can also fall back to the home line. Use it only when you understand the home carrier’s roaming cost.
Supported iPhones can keep a home line and travel eSIM active at the same time. That can preserve calls and texts on the home number while the travel profile handles internet access, but charges on the home line still follow the home carrier’s terms.
On Android, follow the same decisions even when menus differ
Google’s current Pixel path is Settings, Network & internet, SIMs, Add SIM, then Set up an eSIM. Samsung and other manufacturers use different labels, often under Connections or SIM Manager. The exact menu matters less than the three decisions after installation: which line is enabled, which line supplies mobile data, and which line is allowed to roam.
- 01Add profile
Use Add SIM or the manufacturer’s eSIM menu
Follow the provider flow and stay on Wi-Fi until the travel profile is listed among the phone’s SIMs.
- 02Name lines
Rename the profiles before the trip
Use labels that remain obvious under pressure—Home and Trip, or Home and the destination name.
- 03Choose data
Make the travel eSIM the mobile-data SIM
Leave the home SIM assigned to calls or messages if desired, while preventing it from becoming an expensive data fallback.
- 04Apply rules
Set roaming only on the profile that needs it
Many travel eSIMs require roaming because they connect through partner networks. Follow the provider guide rather than applying one setting to both lines.
Connect in a deliberate order after landing
A travel profile can take a few minutes to register with its local partner network. Give the phone a clear configuration and a short search window before changing several settings at once.
- Turn off airplane mode, then enable the travel eSIM line.
- Select the travel line for mobile data and keep home-line data roaming off.
- Enable data roaming on the travel line only when the provider requires it.
- Leave network selection on Automatic unless the guide names a specific partner.
- Wait a few minutes for registration, then turn Wi-Fi off for the connection test.
- Load a lightweight webpage or map and confirm that the data indicator belongs to the travel line.
If data does not connect, keep the profile and narrow the cause
Start with the settings that can be reversed in seconds. Confirm that the plan is active, the destination is included, the travel line is enabled, and that it is selected for mobile data. Then check the provider’s roaming and APN instructions.
Refresh registration
Toggle airplane mode once, wait, and restart the phone if needed. This gives the modem a clean network search without changing the eSIM.
Check the partner network
Try manual selection only when the provider lists supported operators; return to Automatic if the chosen network refuses registration.
Check APN and plan status
Compare the APN exactly with the installation guide and confirm that the plan has started, still has data, and has not expired.
If support is needed, send the exact error, destination, phone model, order number, and screenshots of the travel-line settings. Leave out full payment details and do not post the QR code publicly.
Reset the data lines when the trip ends
Back on your home network, select the home SIM for mobile data and confirm that its line is enabled. Turn the travel line off, restore any data-switching preference you changed, and check the home line’s roaming setting.
You do not need to delete the travel profile immediately. Keep it if the provider allows reuse, top-ups, or another trip during the validity period. Remove it only when you know the plan is finished and the profile will not be useful again.
Home data
Return mobile data to the home SIM and confirm a normal connection.
Travel line
Turn the profile off, then review its remaining data and expiry before deleting it.
Next trip
Keep the provider instructions and note what worked while the setup is still fresh.
Choose a plan whose timing fits the trip
Compare validity, coverage, data, and plan details before purchase—then save the installation rule with the itinerary instead of discovering it at the gate.
Sources and further reading
Device features, carrier support, and plan rules can change. These references were checked on August 27, 2026.
- 1.Use eSIM while traveling internationally with your iPhone (Apple Support)
- 2.Set up eSIM on iPhone (Apple Support)
- 3.Set up a new eSIM (Google Pixel Help)
- 4.How to use dual SIMs on your Google Pixel phone (Google Pixel Help)
Editorial disclosure: Best Global eSIM sells travel data plans. This guide is designed to help travelers compare options, including cases where a home carrier or local provider may be the better fit.